Imagine biting into a cloud – a sweet, airy, impossibly light cloud that melts on your tongue, leaving behind a delicate whisper of sweetness. That's the magical experience of a perfectly crafted meringue cookie. These exquisite little bites, often piped into elegant 'kisses' or rosettes, are a testament to the simple alchemy of egg whites and sugar, transformed into something truly ethereal. They look stunning on any dessert platter, make charming holiday gifts, and offer a naturally gluten-free indulgence that appeals to almost everyone.
While the concept of whipping egg whites and sugar might sound straightforward, achieving that ideal crisp, weightless texture can sometimes feel like a baker's riddle. But fear not! This comprehensive guide is designed to demystify the art of making meringue cookies, equipping you with the knowledge and confidence to create your own batches of these delightful, melt-in-your-mouth treats.
What Exactly Are Meringue Cookies? The Sweet Science Unveiled
At its heart, meringue refers to a preparation of whipped egg whites and sugar. This versatile base forms the foundation for everything from fluffy pie toppings and rich buttercreams to elegant pavlovas and, of course, the star of our show: meringue cookies. Also affectionately known as "forgotten cookies" because they spend a long time in a low-temperature oven, these bite-sized wonders are defined by several key characteristics:
- Light-as-Air Texture: They are practically weightless, a result of the immense amount of air incorporated into the egg whites.
- Crisp Exterior: Unlike some meringues that might be chewy, cookies are dried out to achieve a satisfying snap.
- Melt-in-Your-Mouth Finish: As soon as they touch your tongue, they dissolve, releasing their sugary sweetness.
- Simple Ingredients: Often requiring just a handful of pantry staples, they prove that sometimes the best things are the least complicated.
The beauty of meringue cookies lies in this delicate balance. They aren't "baked" in the traditional sense; rather, they are gently dried out at a very low temperature. This slow process ensures that they become crisp all the way through without browning, preserving their pristine white or pastel hues.
The Secrets to Stellar Meringue: Ingredients & Technique
While minimal ingredients might suggest an easy ride, precision is key when it comes to meringue. Here’s what you need to know to whip up perfect batches every time.
Mastering Your Ingredients for Optimal Results
- Egg Whites: The Foundation of Fluffiness:
- Fresh is Best: Use fresh egg whites, not carton-bought ones, for the best stability and volume.
- Room Temperature: Allow your egg whites to come to room temperature before whipping. This helps them whip up faster and achieve greater volume.
- Zero Yolk Contamination: Even a tiny speck of egg yolk (fat) can prevent your egg whites from whipping properly. Separate your eggs carefully.
- Sugar: The Sweet Stabilizer:
- Superfine Granulated Sugar: While regular granulated sugar can work, superfine (caster) sugar dissolves more easily into the egg whites, leading to a smoother, more stable meringue.
- Gradual Addition: Add sugar slowly, a tablespoon at a time, once the egg whites have reached soft peaks. This allows it to dissolve completely and strengthen the protein structure.
- Acid (Optional but Recommended):
- Cream of Tartar or Lemon Juice: A small amount of acid (like ¼ teaspoon of cream of tartar per 4 egg whites or a teaspoon of lemon juice) helps stabilize the egg whites, making them stronger and less prone to collapsing.
- Flavoring: Vanilla and Beyond:
- Pure Extracts: High-quality vanilla extract is classic, but almond, peppermint, or lemon extracts can also be delicious. Add extracts towards the end of whipping.
The Art of Whipping to Stiff Peaks
This is where the magic happens! The goal is to incorporate as much air as possible into the egg whites, creating a stable foam. You'll need an electric mixer (stand mixer or handheld) and a very clean, grease-free bowl (metal or glass are ideal).
- Start Slow: Begin whipping egg whites on medium-low speed until they become frothy and foamy.
- Add Acid: If using, add the cream of tartar or lemon juice at this stage.
- Increase Speed & Add Sugar: Gradually increase the speed to medium-high. Once soft peaks form (the meringue holds its shape but the tip flops over), begin adding the sugar, one tablespoon at a time, waiting about 15-20 seconds between additions to allow it to dissolve.
- Achieve Stiff, Glossy Peaks: Continue whipping until the meringue is very thick, glossy, and holds stiff, unmoving peaks when you lift the whisk. If you rub a bit between your fingers, it should feel smooth, with no grittiness from undissolved sugar. This is crucial for Melt-in-Your-Mouth Meringue Cookies: Easy Recipe & Baking Tips.
The Gentle "Bake": Drying for Ultimate Crispness
As mentioned, meringue cookies aren't truly baked; they're dried. This low-and-slow approach is what gives them their signature crispness without any browning.
The Perfect Low-Temperature Environment
- Oven Temperature: Preheat your oven to a very low temperature, typically around 200°F (95°C). This gentle heat gradually evaporates the moisture from the meringue.
- Long Drying Time: Depending on their size, meringue cookies will dry for anywhere from 1.5 to 3 hours. The key is patience!
- No Peeking!: Resist the urge to open the oven door during the drying process. Fluctuations in temperature can cause the meringue to crack or collapse.
- Cooling in the Oven: Once the drying time is complete, turn off the oven and leave the cookies inside to cool completely for several more hours, or even overnight. This crucial step helps them crisp up further and prevents them from becoming sticky or chewy due to humidity. This technique is central to creating Classic Meringue Cookies: Low-Temp Baking for Perfect Crispness.
You'll know your meringue cookies are perfectly done when they lift easily from the parchment paper and feel firm, dry, and light. If they stick or feel soft in the center, they need more drying time.
Customizing Your Meringue Masterpiece: Flavor, Color, and Flair
While classic vanilla meringue cookies are delightful, part of the fun is making them your own!
Infusing Delicious Flavors
- Extracts: Beyond vanilla, try almond, peppermint, lemon, orange, coffee, or even rum extract. Add these towards the end of the whipping process.
- Citrus Zest: Finely grated lemon, lime, or orange zest can add a beautiful aromatic lift.
- Cocoa Powder: For a chocolatey twist, gently fold in a tablespoon or two of sifted cocoa powder at the very end.
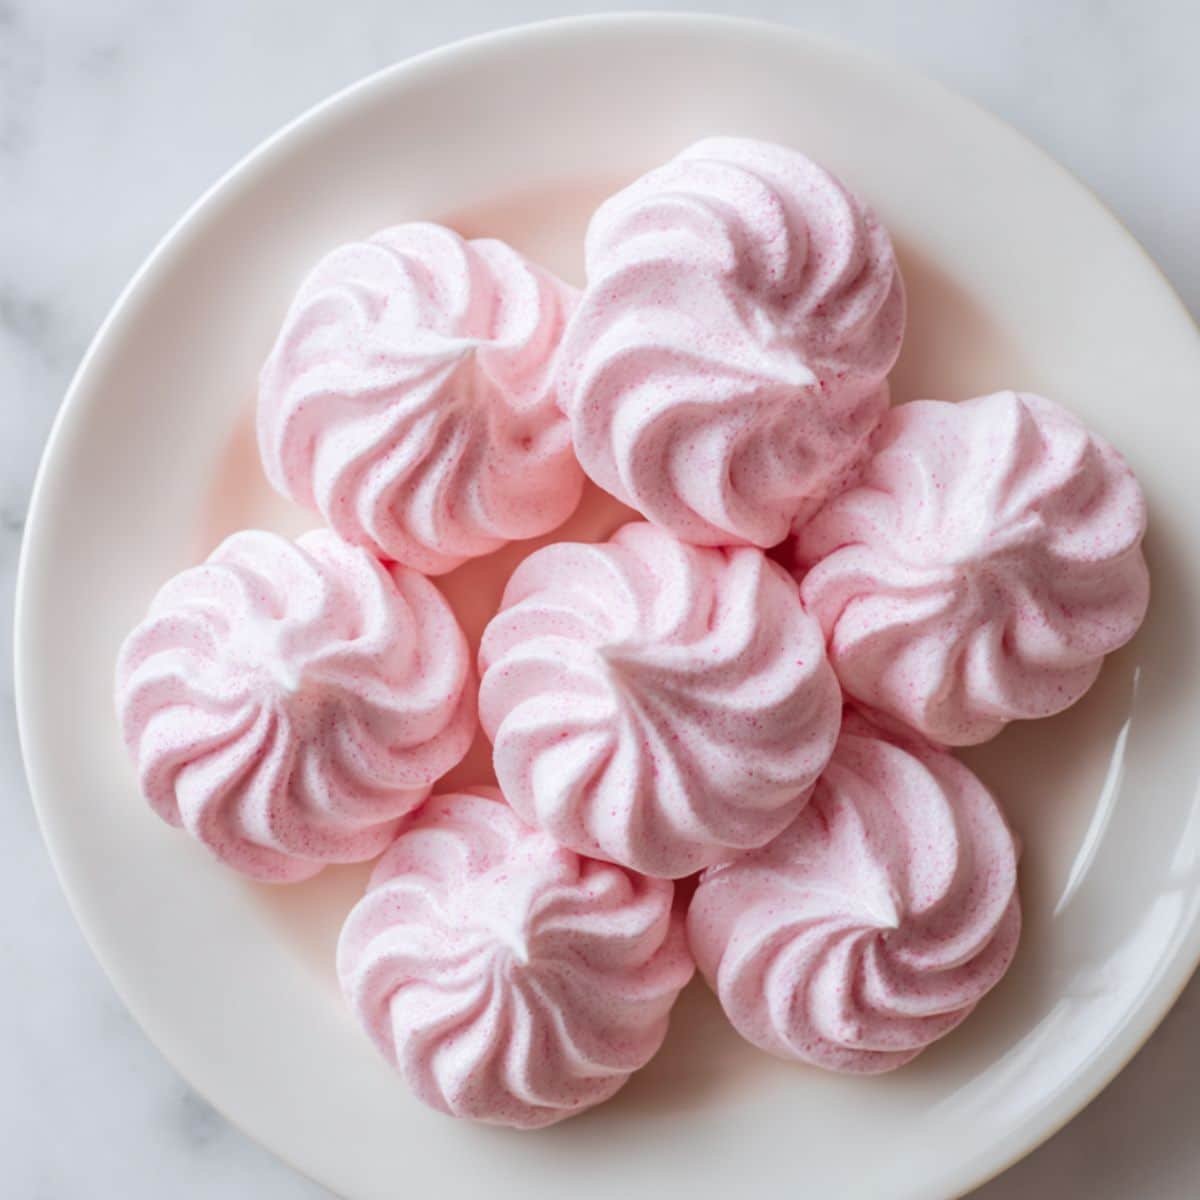
Adding a Splash of Color
Gel food coloring is your best friend here. A tiny dab of gel coloring goes a long way and won't thin out your meringue like liquid food coloring can. Add it at the end of whipping for uniform color, or create swirls by painting stripes of gel color inside your piping bag before filling it with meringue.
Creative Mix-Ins and Drizzles
- Mini Chocolate Chips: Gently fold in mini chocolate chips after the meringue is fully whipped.
- Chopped Nuts: Finely chopped pecans or almonds can add a lovely texture.
- Sprinkles: Add festive sprinkles before drying for a pop of fun.
- Chocolate Drizzle: Once cooled, melted chocolate drizzled over the cookies adds an elegant touch and extra flavor.
Serving and Storing Your Delicate Delights
Once your beautiful meringue cookies are cool and crisp, they're ready to be enjoyed or stored. They make fantastic holiday gifts, party favors, or a simple treat with an afternoon cup of coffee or tea.
Because meringue is highly susceptible to humidity, proper storage is crucial. Keep your cooled meringue cookies in an airtight container at room temperature in a cool, dry place. Avoid the refrigerator, as the moisture can make them sticky and soft. Stored correctly, they can maintain their crispness for up to two weeks, though they rarely last that long!
Conclusion
From simple egg whites and sugar emerges a dessert that truly captures the imagination: the perfect meringue cookie. They may seem daunting at first, but with a little understanding of the core techniques – careful egg separation, precise whipping to stiff peaks, and the gentle, extended drying process – you'll soon be creating your own batches of these light, crispy, and utterly delicious treats. So, gather your ingredients, fire up your mixer, and prepare to delight yourself and your loved ones with these sweet, airy clouds of perfection!
